So, today I decided to take some pictures of what goes into making a bead crochet bracelet. At craft shows, I try to explain to people the work involved, but sometimes, as they say, a picture is worth a bunch of words.
First, if I want to follow a pattern or try something new, I browse through my bead crochet pattern books, particularly this one and this one. There is also a great booklet chock full of patterns that I got from Beads East, but I seriously can never find it. It gets lost a lot. Stupid booklet.
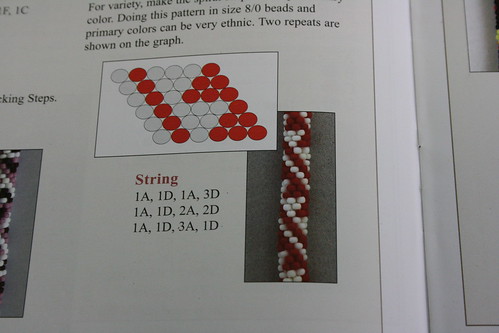
Here is the pattern I chose for today:
 Next, I picked out some beads and some thread:
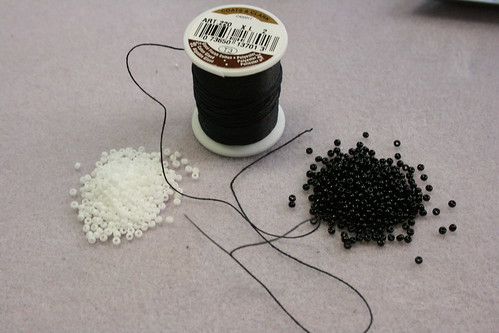
Whenever I bead crochet, I complete one pattern repeat and slide it waaaaaay down the thread. I then lay it neatly on my beading mat. This is very important, because it is critical that you not make mistakes when threading the beads.
 Every single time I complete a pattern repeat, I compare it to my first 'sample'. Yes, every single time.
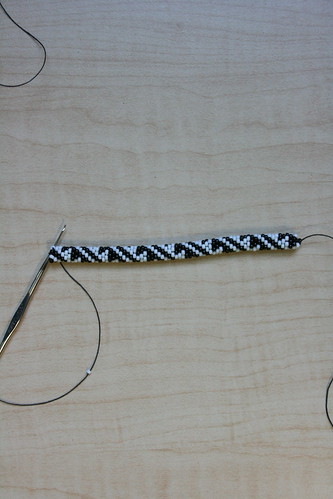
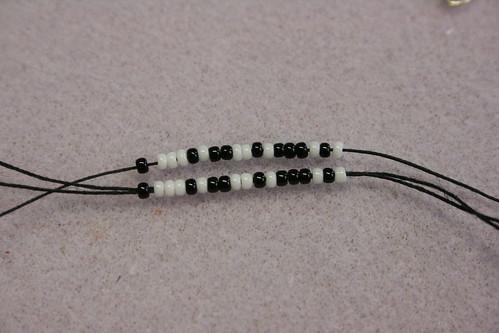 Here it is, the 4 foot long snake of beads, ready to be crocheted. One of the nice things about bead crochet is that once the beads are strung, the project is pretty portable. No beads flying all over the place!
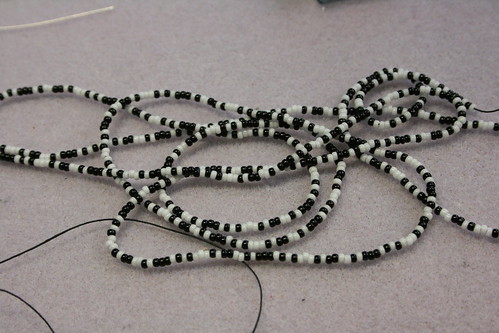
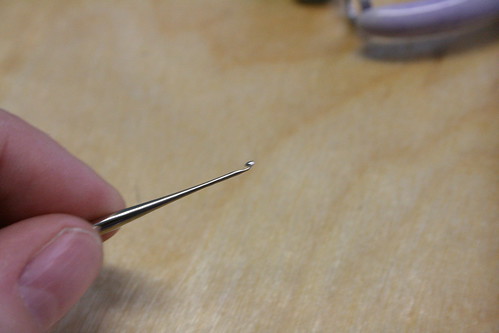
Yes, there IS a crochet hook at the end of that metal thingy. It's just very small!
Crocheting! Each stitch has one bead in it. That means (going to do some math) that each bracelet has over 800 beads and stitches! Each bracelet takes several hours to complete.

I'm not done yet, but here is what I've gotten finished so far:
Cool, huh? When I'm finished, I carefully sew the ends together in such a way that the seam does not show... unless you look really, really closely and know what you're looking for.

Not too shabby! now, while the bracelet is not exactly stretchy, the crocheted tube of thread inside allows for juuuuust enough give that the bracelet will roll right over an average sized woman's hand. Yes, I have/ do/ will make them bigger or smaller for those individuals whose hands are not average-ish.
Presto! My project is done. Now, I will just sit back and wait for the avalanche of compliments. No pushing, please... there is enough room for everyone's comment!

1 comment:
Me first! That's so interesting! Thanks for the mini-tute
Post a Comment